Students
The Students module is where most of the fee-related operations are done. You can add students one at a time with the New Student button, or load many at once with the Import button.
Import Students
The import form has a clickable area where you can drag and drop or click to open a CSV file. A sample CSV can also be downloaded, pre-formatted to be compatible with the importer.
In the Select Fees dropdown, choose the fees that will be assigned to every student in the upload.
INFO
For all imported students, invoices for the assigned fees are generated for the whole year. However, parents only need to pay invoices whose fee date is in the past.
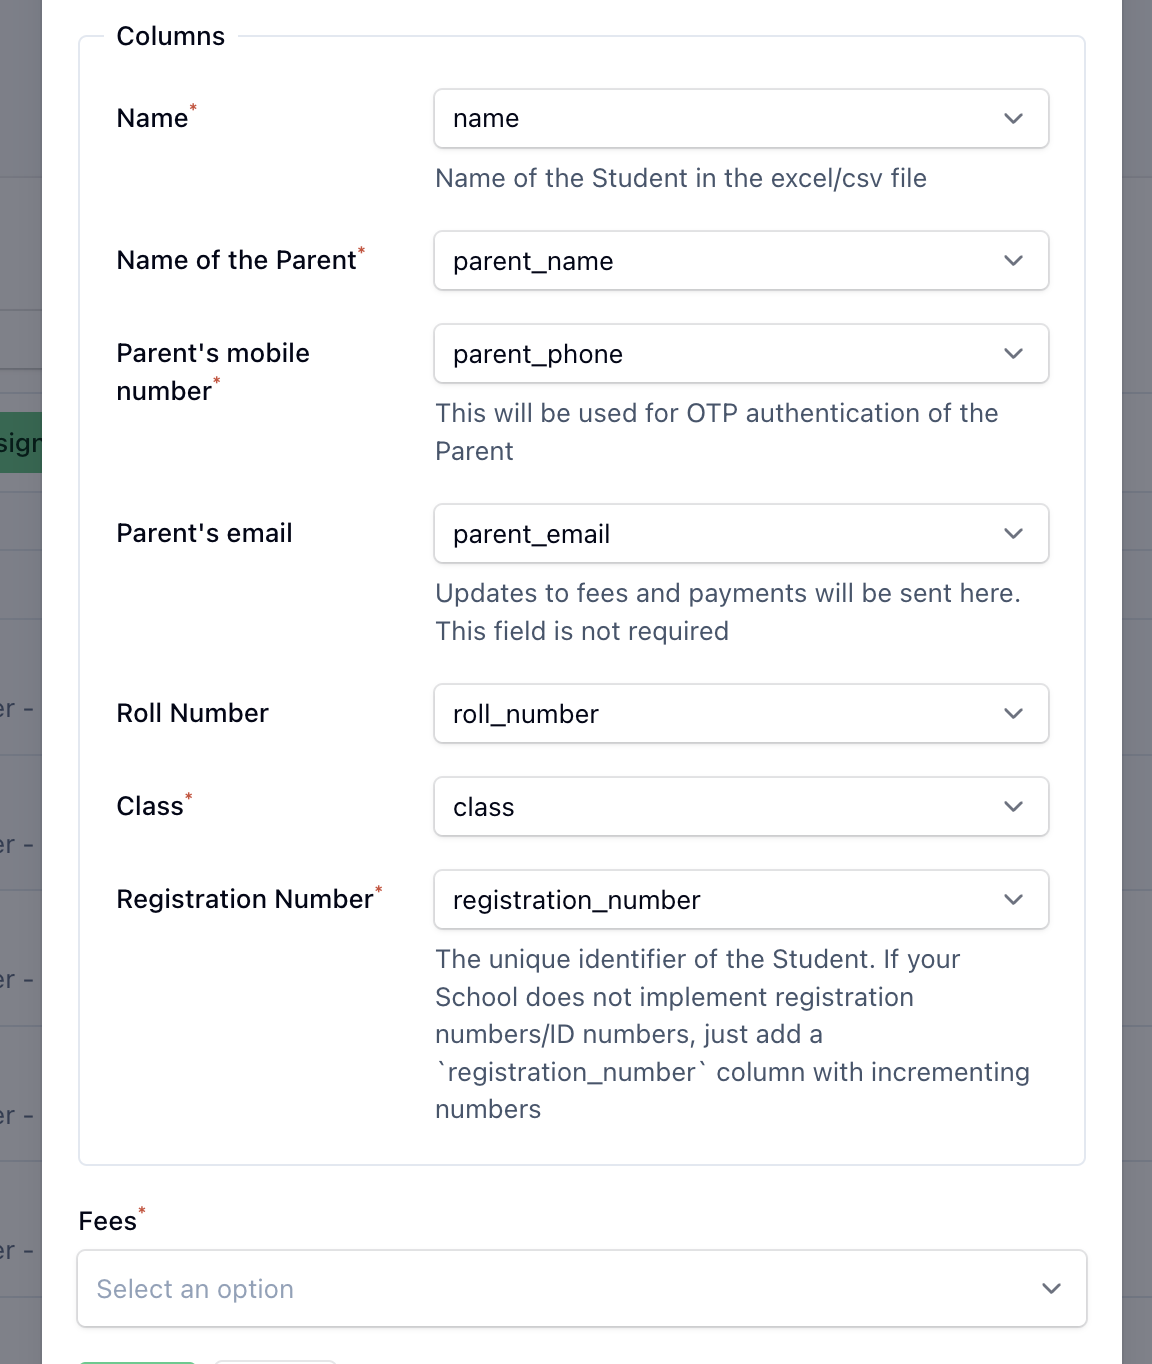
You then map the required fields to the columns in your CSV using the mapping form — pick which heading in your sheet corresponds to each student field (name, parent name, phone, email, class, roll number and registration number).
After clicking import, the process runs on the server in the background. You will receive a notification in the bell icon at the top-right of the dashboard once it finishes, where you can also download failed imports. The full history is available in Import History.
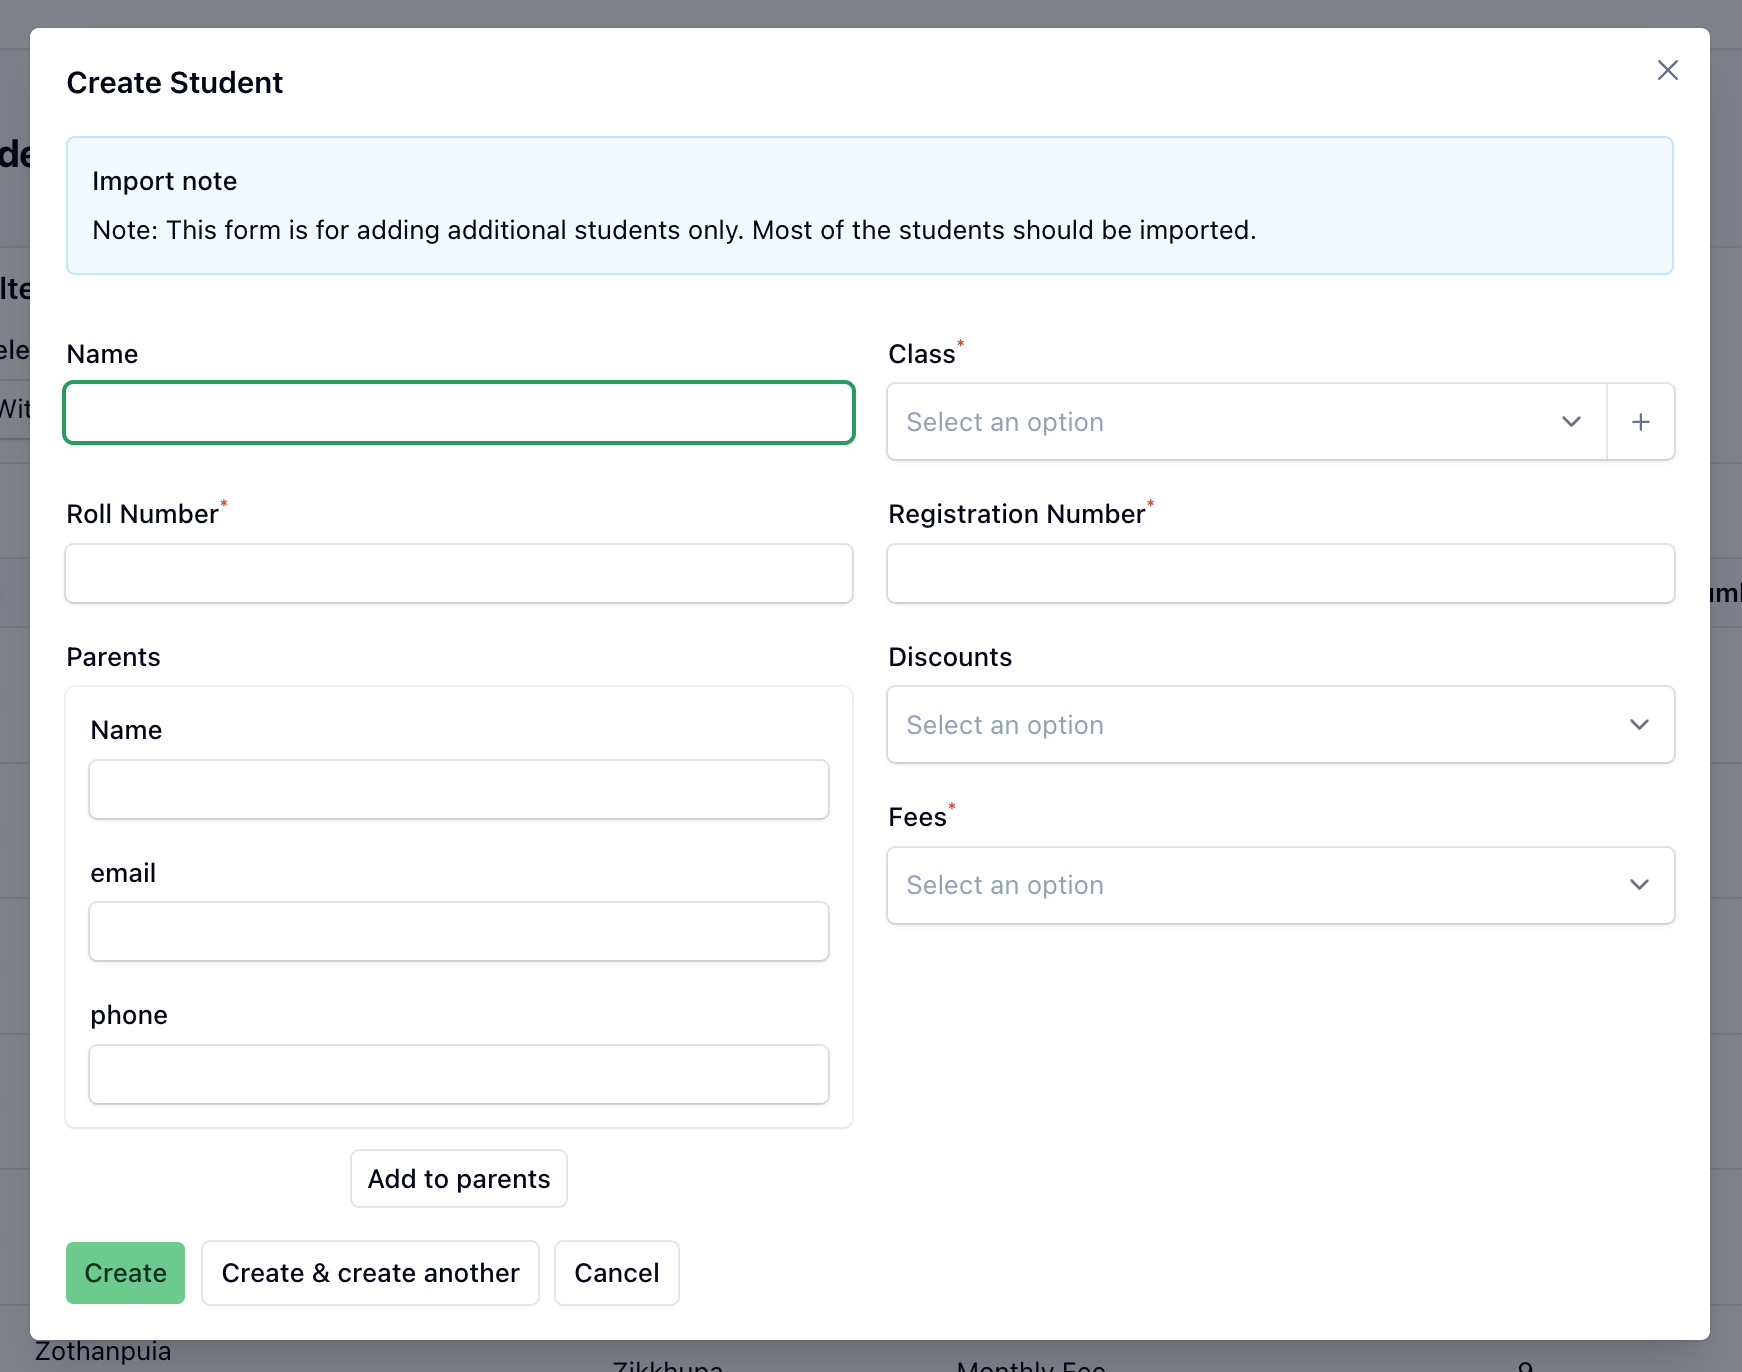
New Student
The New Student form captures the registration number, name, class and roll number. You can also assign a fee and a discount directly from this form.
INFO
Use this form for adding the occasional new student mid-session. For bulk entry, we recommend the import function.
Parents are added in the parents section, where you can enter their name, email and phone number. At least one parent is required, and you can add up to two. The only remaining parent cannot be removed — to swap a parent, add the new one first.
INFO
The phone number must be active so parents can receive notifications and log in to the parent app/portal. Email is optional, but if filled, notifications are also sent there.
IMPORTANT
Parents are identified by phone number. If a parent already exists with the phone number entered, the new student is mapped to that existing parent instead of creating a duplicate. If that parent had previously been removed, their account is restored and re-linked to the school rather than recreated.
Searching
Use the search input to find students by their name or their parents' name.
INFO
By default the list shows only active students — deleted students are hidden until you change the Deleted records filter (see below).
Filter
Filters are shown above the table and apply as soon as you choose one — there is no separate filter button or Apply step. The available filters are:
- Deleted records — controls whether deleted students appear. It defaults to Without deleted records; switch it to With deleted records or Only deleted records to see them (see Viewing and restoring deleted students).
- Class — narrow the list to a single class. Shown only for organisation types that use classes.
- Have Siblings — show only students who share a parent account with at least one other student. Shown only for organisation types that use guardians.

The table
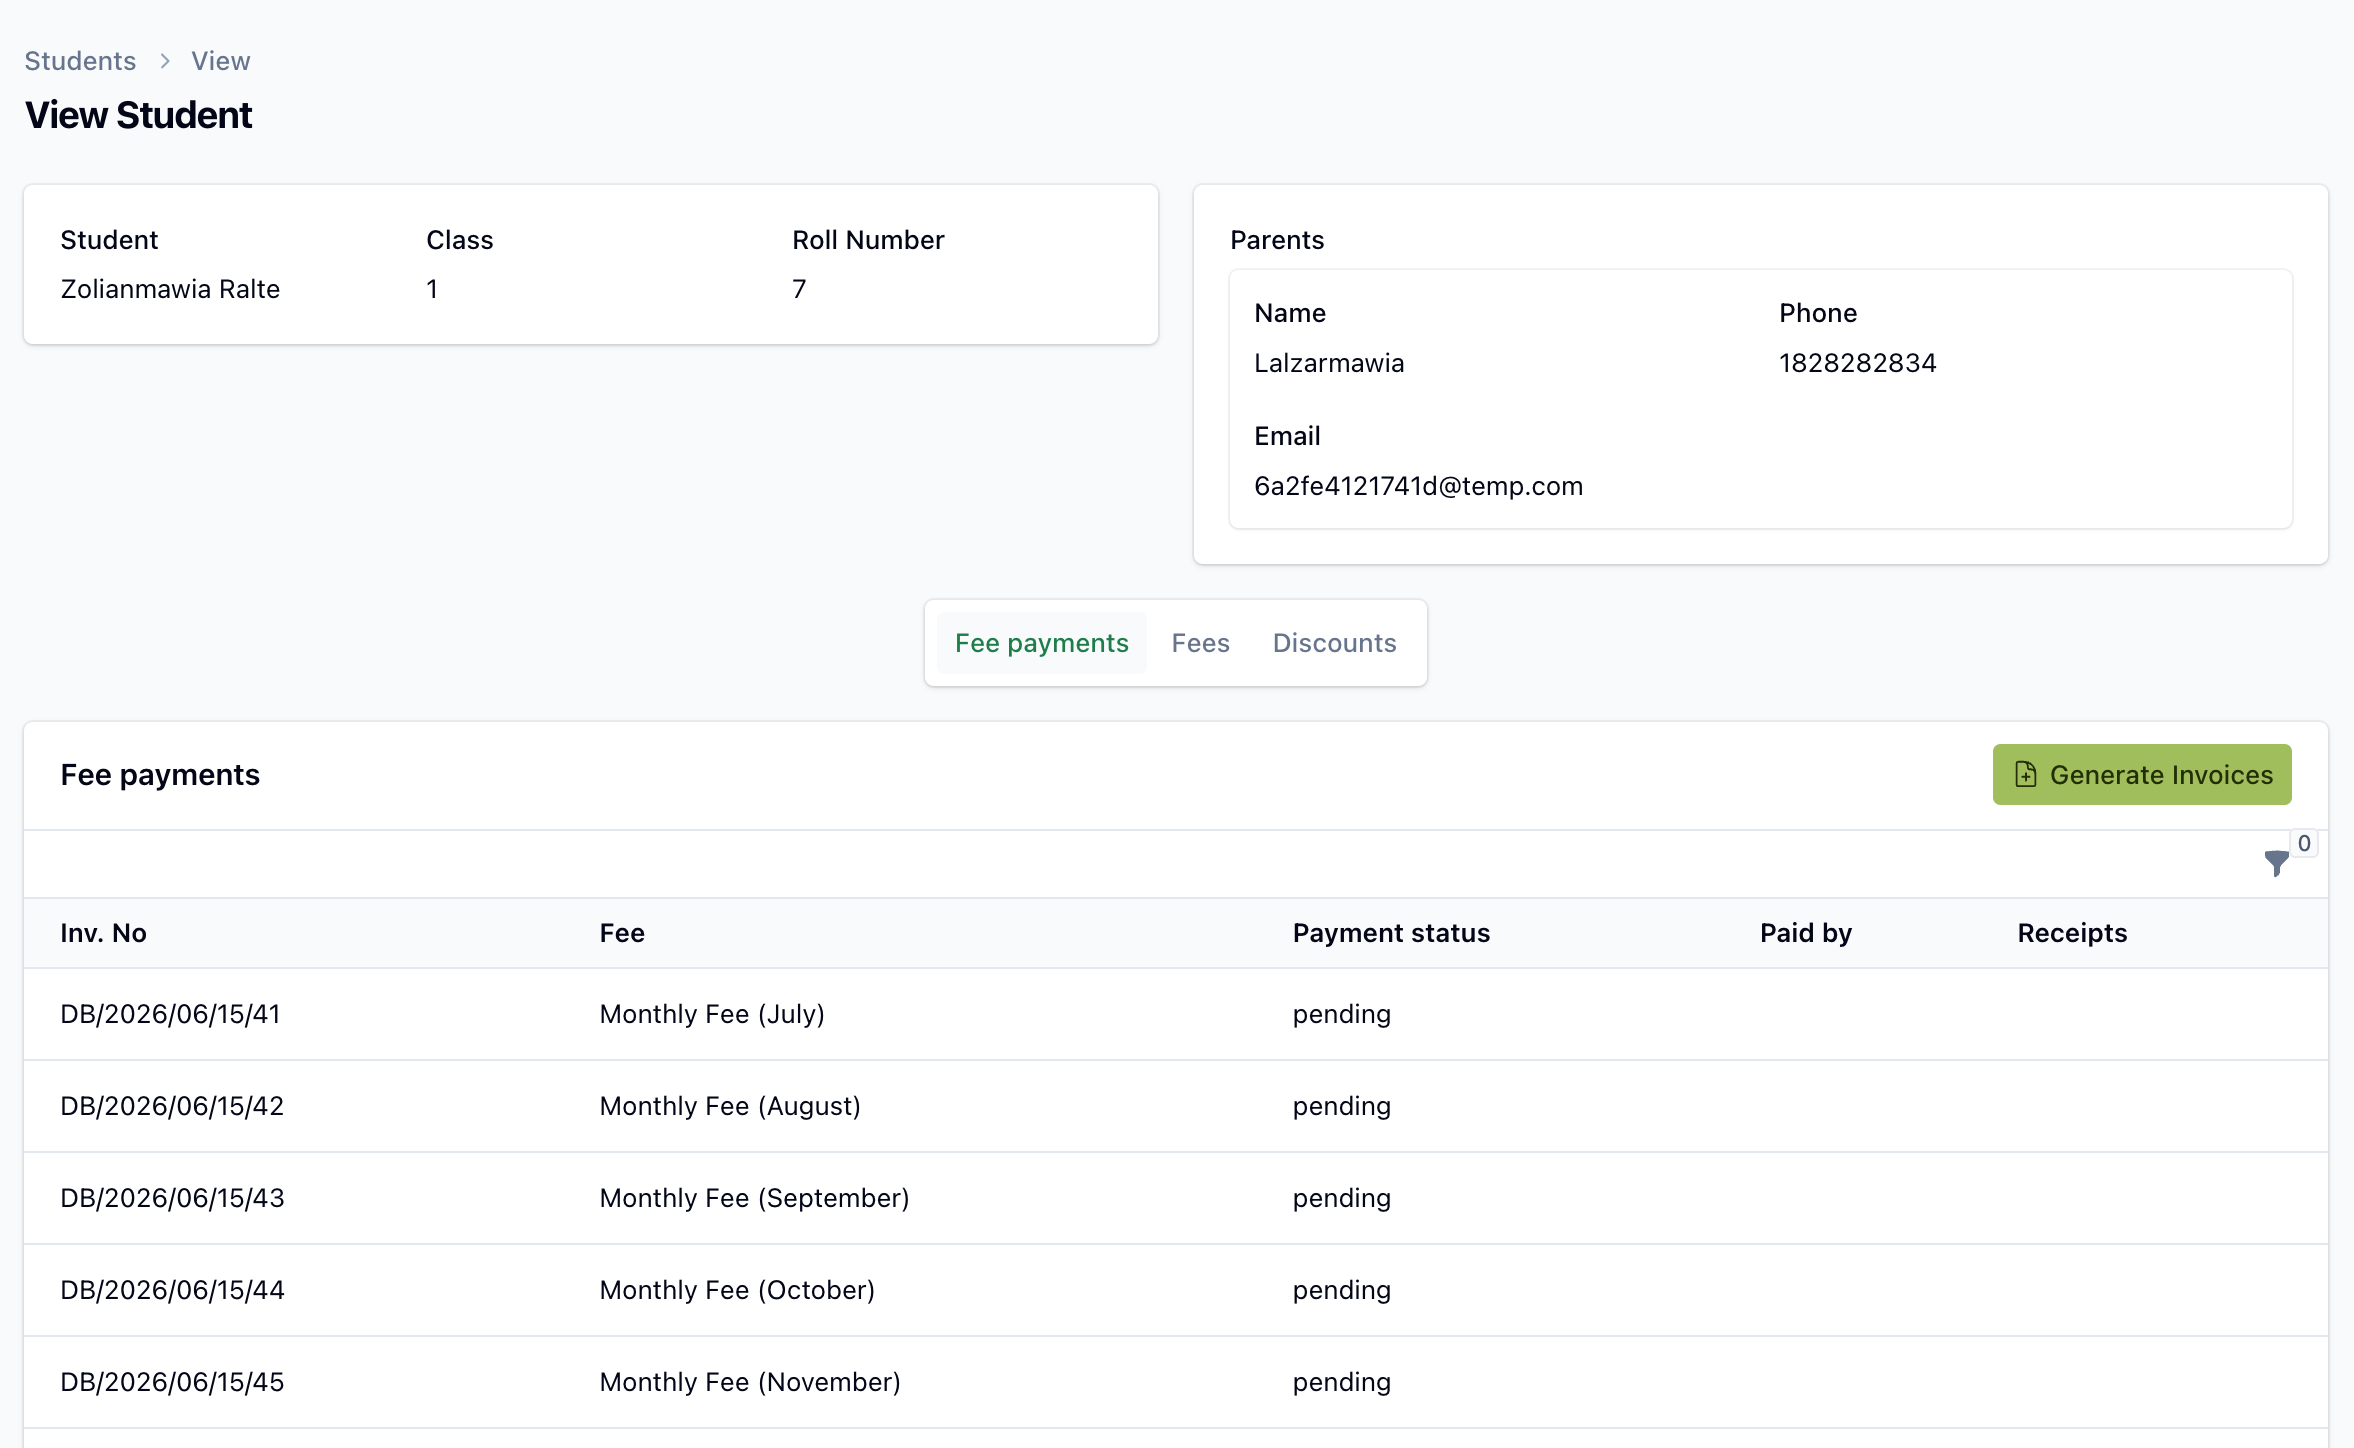
The table lists your school's students. Each row shows the student's name (with class and roll number), guardians, the assigned fees, the assigned discounts and the registration number.
Each student can be edited using the actions on their row. The row also has a Delete action — see below for exactly what it does.
Deleting a student
The Delete button removes a student from the active list. It is a soft delete: the record is hidden but not erased, so it can be brought back. When you delete a student, three things happen automatically:
- the student is moved to the trash and disappears from the normal list;
- their pending invoices are voided so no further dues are tracked or collected (paid invoices and receipts are left untouched as a record);
- any parent who is left with no other children in the school is unlinked from the school — see Parents.
INFO
User activity is logged, so every deletion can be traced.
Billing
A student you delete still counts towards the current month's platform bill — they were enrolled for part of the month. The deletion only reduces your student count from the following month onward.
Viewing and restoring deleted students
Deleted students are hidden from the list by default. To see them, set the Deleted records filter above the table to With deleted records or Only deleted records. When shown, a deleted student is clearly flagged — its name appears in red with a trash icon and a "DELETED" tag — so it can't be mistaken for an active student.
Deleting is always reversible: a deleted student keeps a Restore action that brings them back into the active list and re-links their parents to the school. (Voided invoices are not automatically reinstated.)
INFO
Deleted students are never permanently erased from the panel, and the Edit and Delete actions are hidden on a row that is already deleted. You can still open a deleted student's detail page to review their history.
Clicking a row opens the student's detail page, showing basic information at the top and detailed Fees, Discounts and Invoices tabs below.
Bulk Actions
Tick the checkbox at the start of one or more rows to reveal the Assign Discount and Assign Fees buttons in the table header. Use these to assign discounts or fees to the selected students — one by one or in bulk.
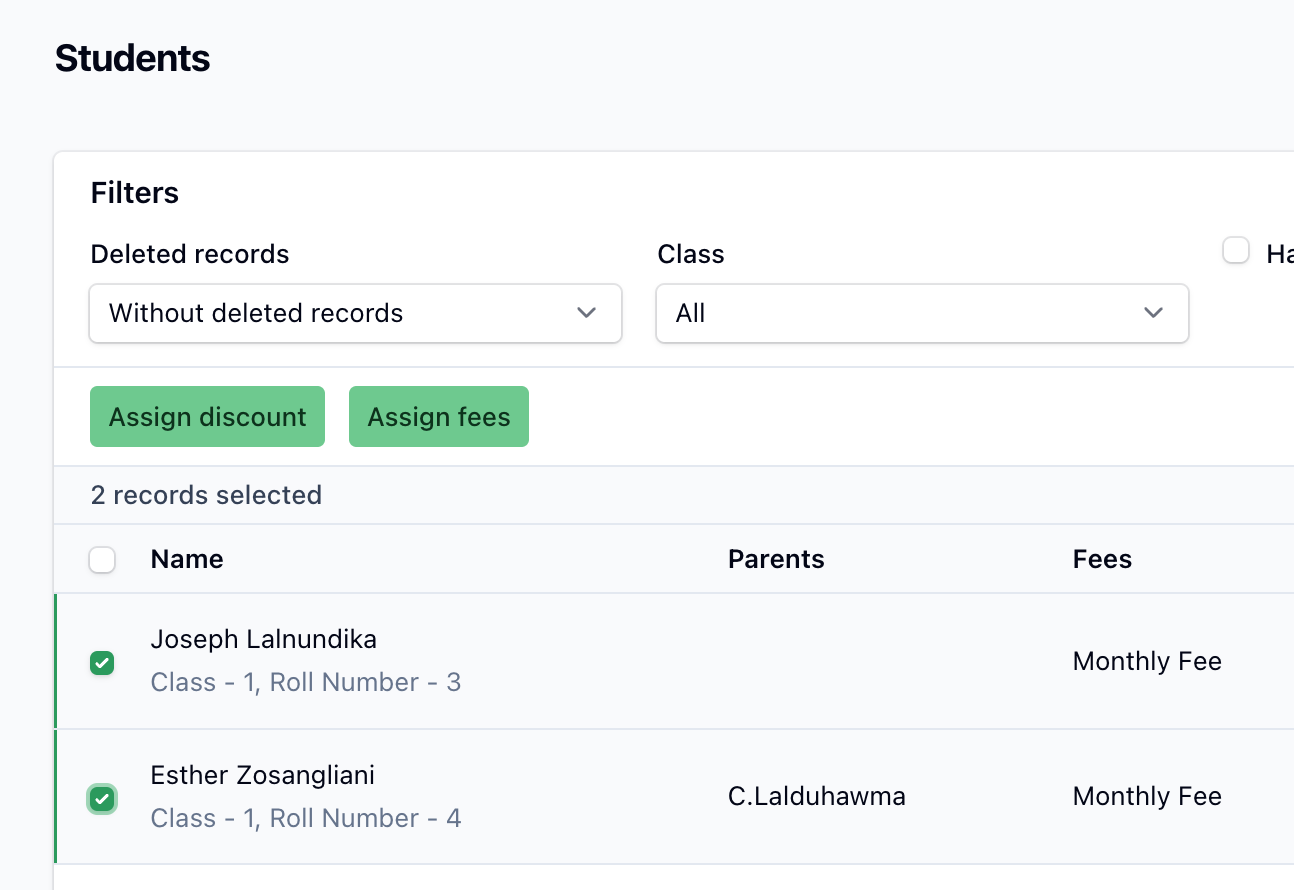
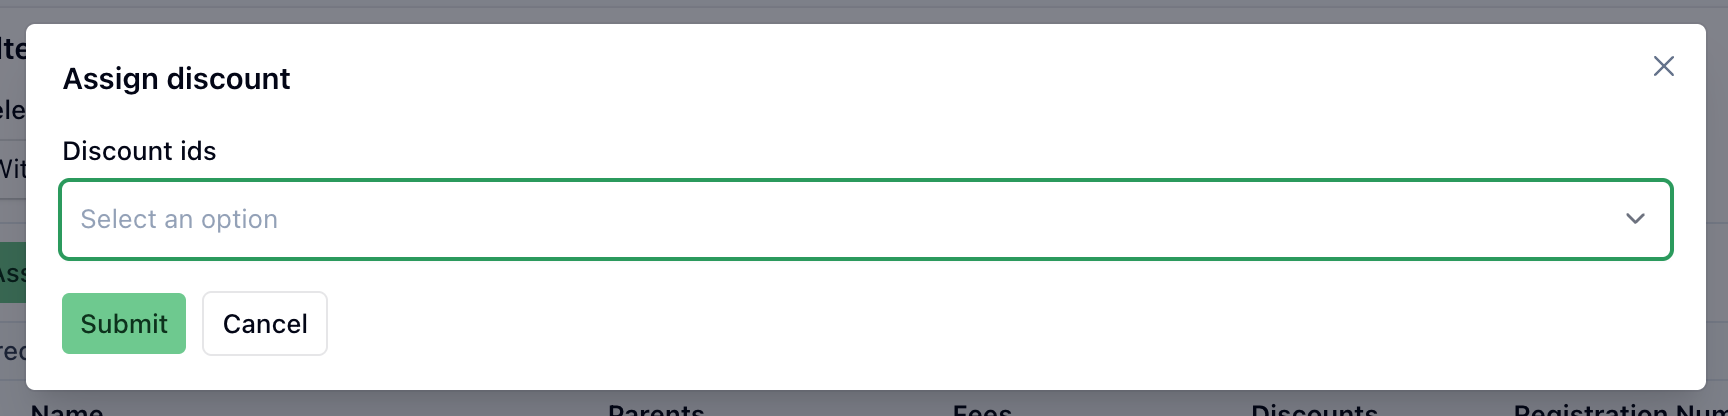
Assign Discount
Applies a discount to the selected students.
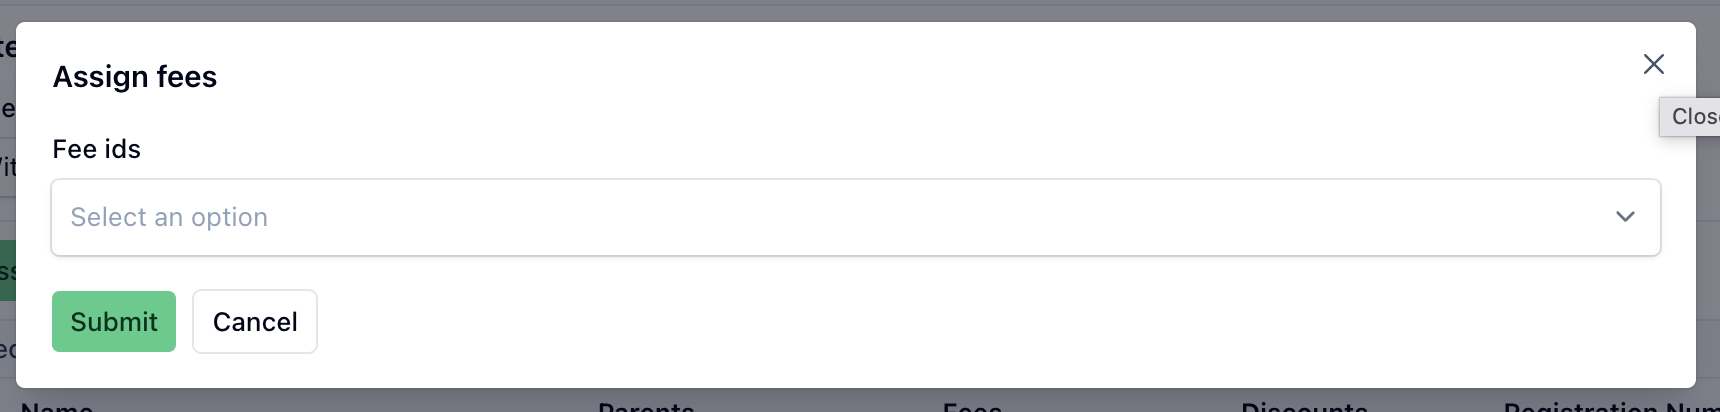
Assign Fees
Assigns a fee to the selected students.
INFO
When you change a student's fees, the system keeps invoices in sync: removing a fee voids its pending invoices, and adding a fee prompts you to generate the new invoices. Changing discounts recalculates the affected invoices automatically.